by Christopher
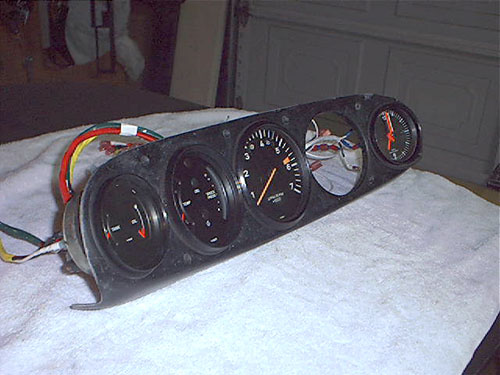
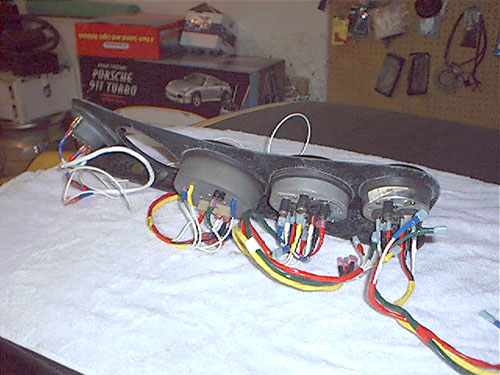
A. Landt February 16, 2004 This is a collection of pictures and information for anyone who is interested in a more functional, better looking 911 style dash for their Porsche 914. A while back I started to look for information and found very little. So I decided to just "Go for it" and see what happens. My 914 dash was very cracked. Though I had a nice dash cap on it, I still wanted to fix the cracked dash. 914 dashes that are not cracked can be quite expensive. I noticed information on a company called "Getty Design" that did a fiberglass 914 dash that looked just like a 911 dash. Since I am not an "Originality" freak I really liked the idea. Once I get the dash it will need finishing. I have a great local upholstery place that does excellent work. He was able to perfectly cover the dash in leather with hand stitching for $375. He told me he could have done it in vinyl for $150. But If I am going this far, it has got to be done in Leather. The 914's three gauges are a perfect fit on the 911 dash. So I knew I could keep the Speedometer and Tachometer. The fuel/temp gauge would fit just fine, but I wanted the 911 temp/oil pressure gauge. I noticed that the 911 fuel level sender is identical to the 914s. So the fuel gauge of the 911 should be a direct fit and work perfectly. Then I would also need a clock. Hey I like the 911 clock. I can retrofit the oil pressure gauge with my smaller VDO unit and make that work, just like I had done with the Temp gauge in my 914 before. VDO gauges are all great, they use the exact same parts and are customizable very easy. So swapping gauges to match senders is a snap. The only gauge I do not need is the oil level gauge. Maybe I will retrofit it for a volt meter. But for now I will ground a 100 ohm resistor to its sensor prong and make it look like it functions. The final costs of my extra gauges and retrofitting came to $150.00. So the final cost of this addition came out to just a little over $850. Not bad for the end results. If I had done in in vinyl and gone with cheaper gauges it would have only cost around $500.
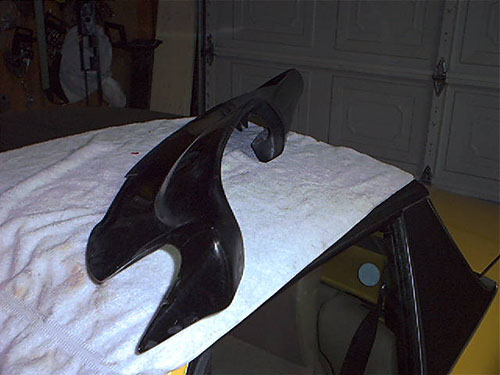
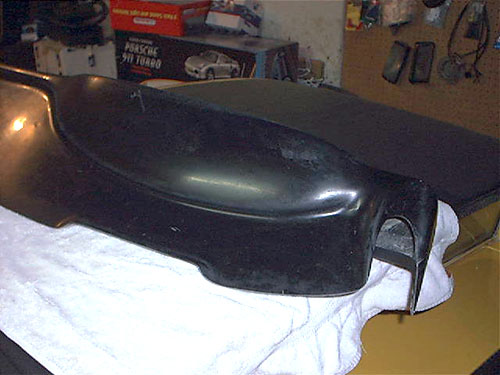
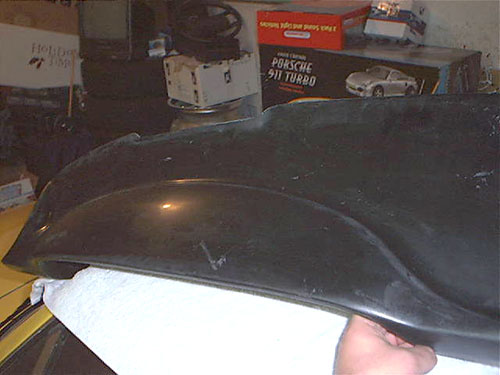
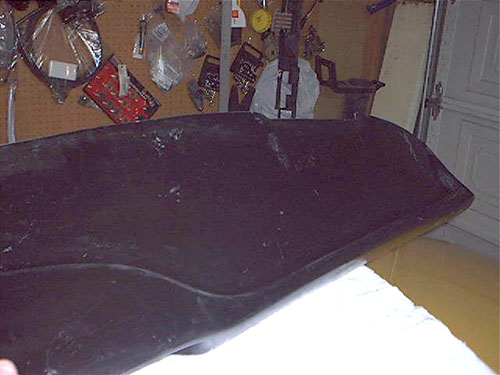
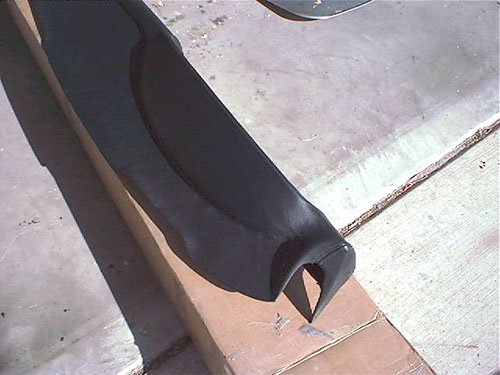
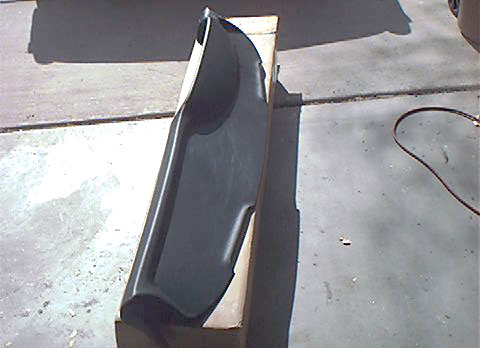
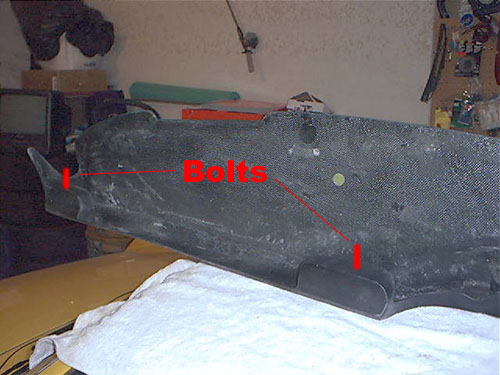
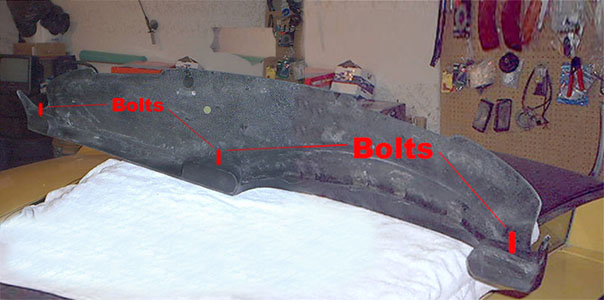
Here are some pics of the raw Getty Dash. It is made very well and very solid. I am completely impressed with workmanship. A quick test fit in the 914 and I find its a perfect fit. No need to adjust anything.
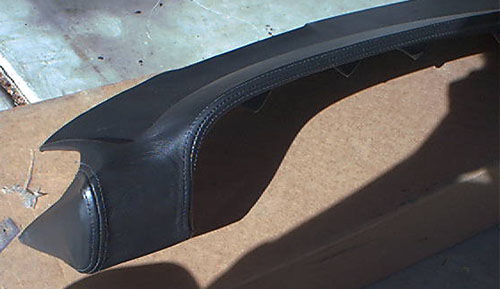
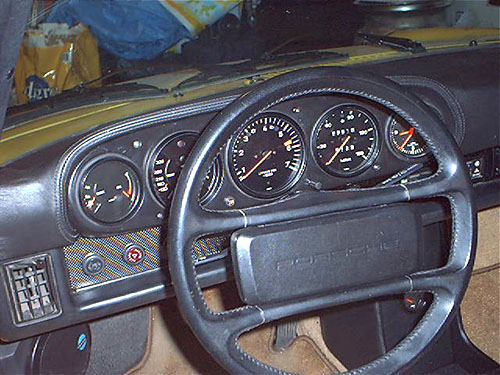
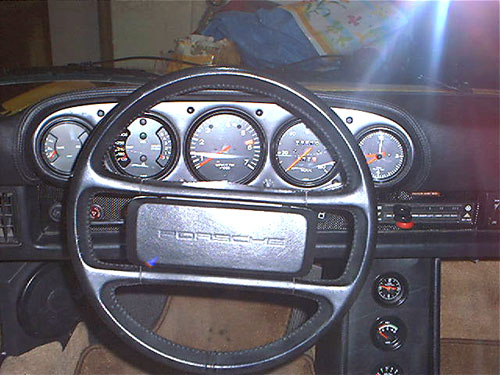
Here are some pics of the dash after it was covered in hand stitched leather.
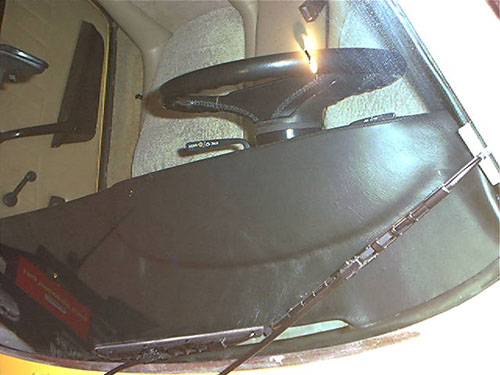
After a bit of stretching and bending I was able to get the original 914 dash out. The hardest part was the three tiny screws that hold the ash tray on. Those suckers are hard to get at. Even harder than the 914 dash mount nuts. I did not want to cut it off so I worked at it, bled a bit and finally got it off in one piece.
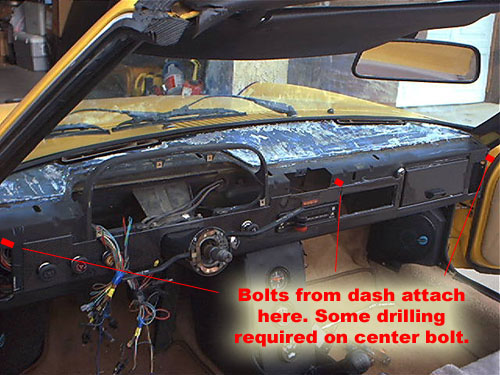
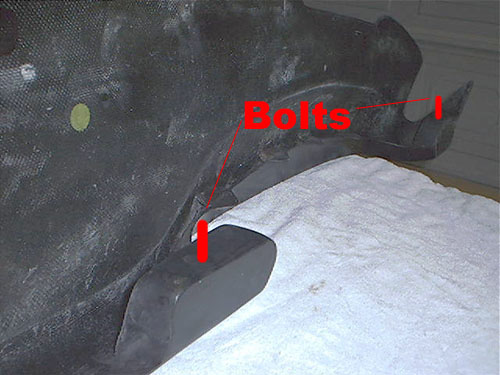
After a quick test fit I noticed that it went in perfectly and fit perfectly, even with the windshield still installed. I noticed that there were three perfect places that the getty dash lined up with that had holes on the 914's dash plate. I decided that I would drill three holes in the getty dash and insert self locking bolts. These are the bolts that dig into one side so you can tighten a nut to the other side without having to hold it. Trust me there is no way to do it any other way that I could see.
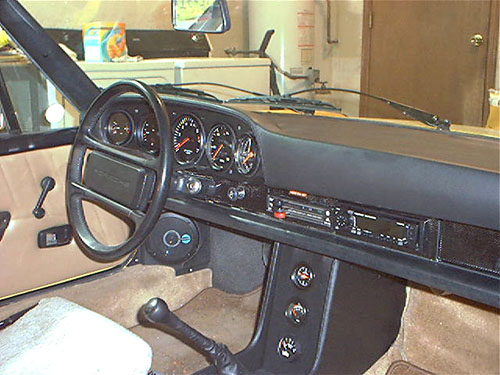
I had no idea how I would attach the windshield side. But once I tested with the three bolts in the front, I noticed it was very solid. So I took it out and put in some really sticky double sided molding tape to the dash near the windshield and re bolted it into place. This dash is not going to move. I have read a few places that people find the gap below the passenger side of the dash odd. You can reach up and under the dash in this area, but you cannot see it unless you turn upside down and look up or are 2 feet tall. Actually I noticed that is it nessessary so you can lock the glove box and get to the radio. As well when installing the dash, that open area was a blessing. It made attaching the dash so much easier.
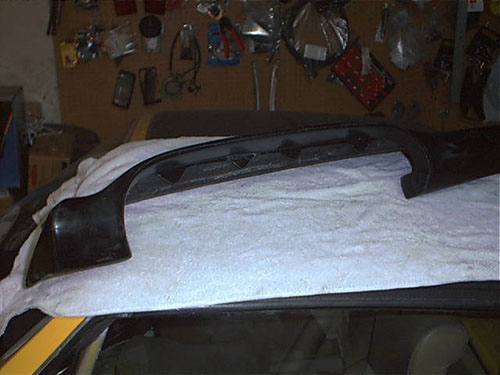
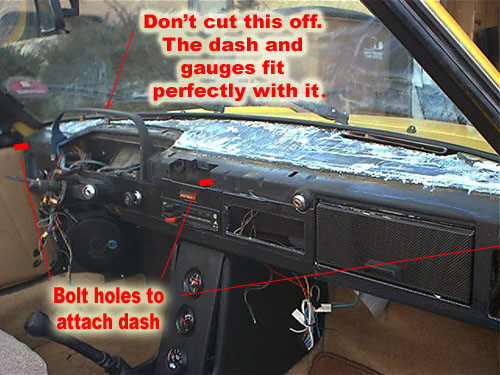
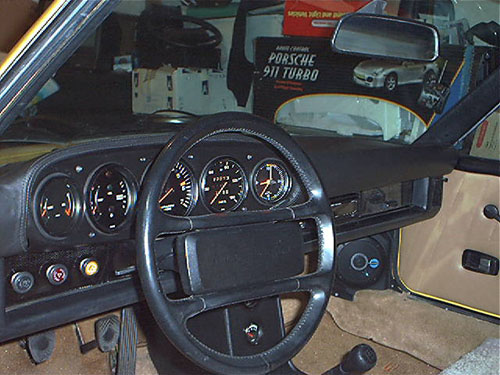
I noticed that the cluster is designed to use the four screw points from the original cluster support. This added extra stiffness. The screw points lined up perfectly but were about 1/3 inch away from each other. So I just got longer screws and that worked just fine. That cluster is more solid that the original 914 cluster ever was. Once I got those items in place and set, the rest was simple installation of the gauges. Which ironically took the longest amount of time to do. So my final opinion on installing a Getty Dash in a 914 is "GO FOR IT!" It was an easy one person, seven hour total install. Hey if I did it I know you can. I am a computer geek, not a mechanic. I did not have to cut anything off the car or remove the windshield. It is solid and a perfect fit. I can see all of the gauges just perfectly (As good as you can in a 911). Though a 1986 911 style steering wheel is a must. Luckily I already had that. And the final results are better than I could have expected. The 911 style dash looks stock, like it belonged. They really should have made the 914 with this dash in the first place. Here are the final install pics. Oh, one note, I know I have two clocks right now. I am waiting for my Cylinder Head Temp gauge to arrive that will go in the lower console where the clock is now. If you have any questions or just want to take about the Getty Dash send me a note to clandt@nmsu.edu. Enjoy!
Here is a quick 7MB video I made. Its a little dark and grainy. I will try to redo it in the sunlight with the top off for a better look. |
 Installing
a Getty Porsche 911
Installing
a Getty Porsche 911